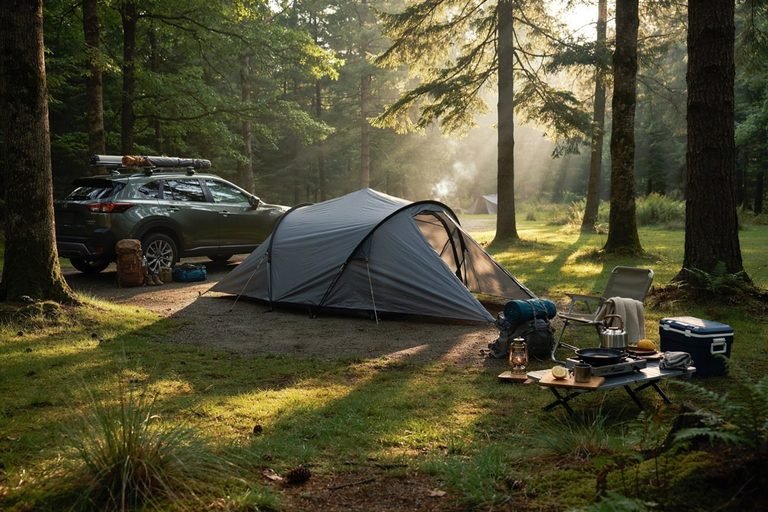
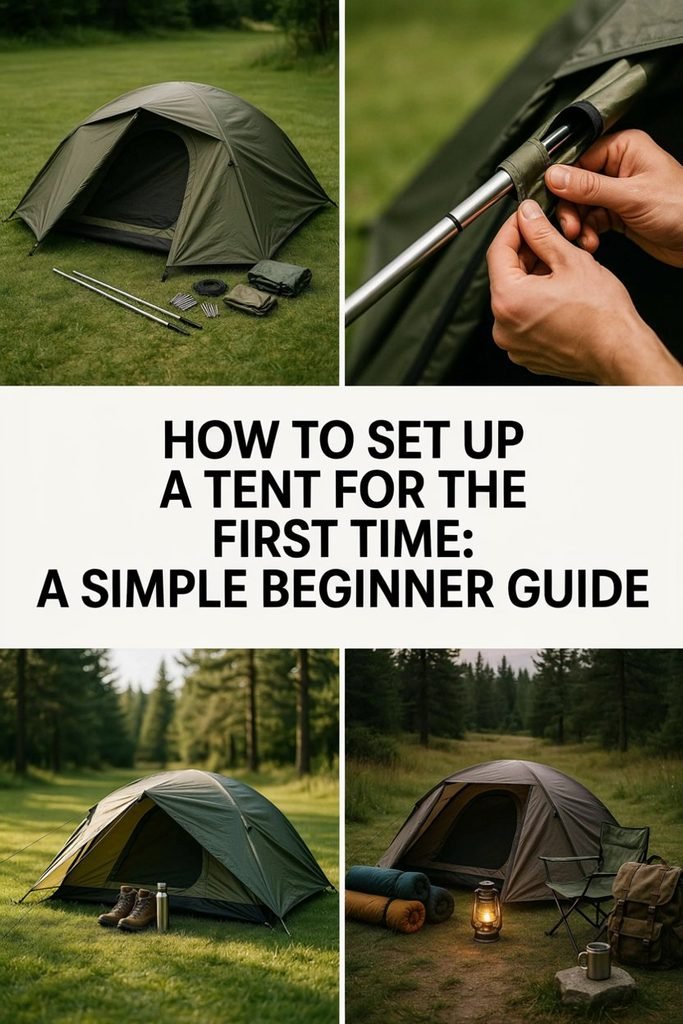
How to Set Up a Tent for the First Time: A Simple Beginner Guide
Setting up a tent can feel like one of those camping jobs that should be easy until you actually spread everything out on the ground. I remember how much easier the process became once I stopped trying to rush through it and started paying attention to the small details.
Choosing the right spot, laying everything out properly, understanding which poles connect where, and taking a few extra minutes to secure the tent can make a huge difference.
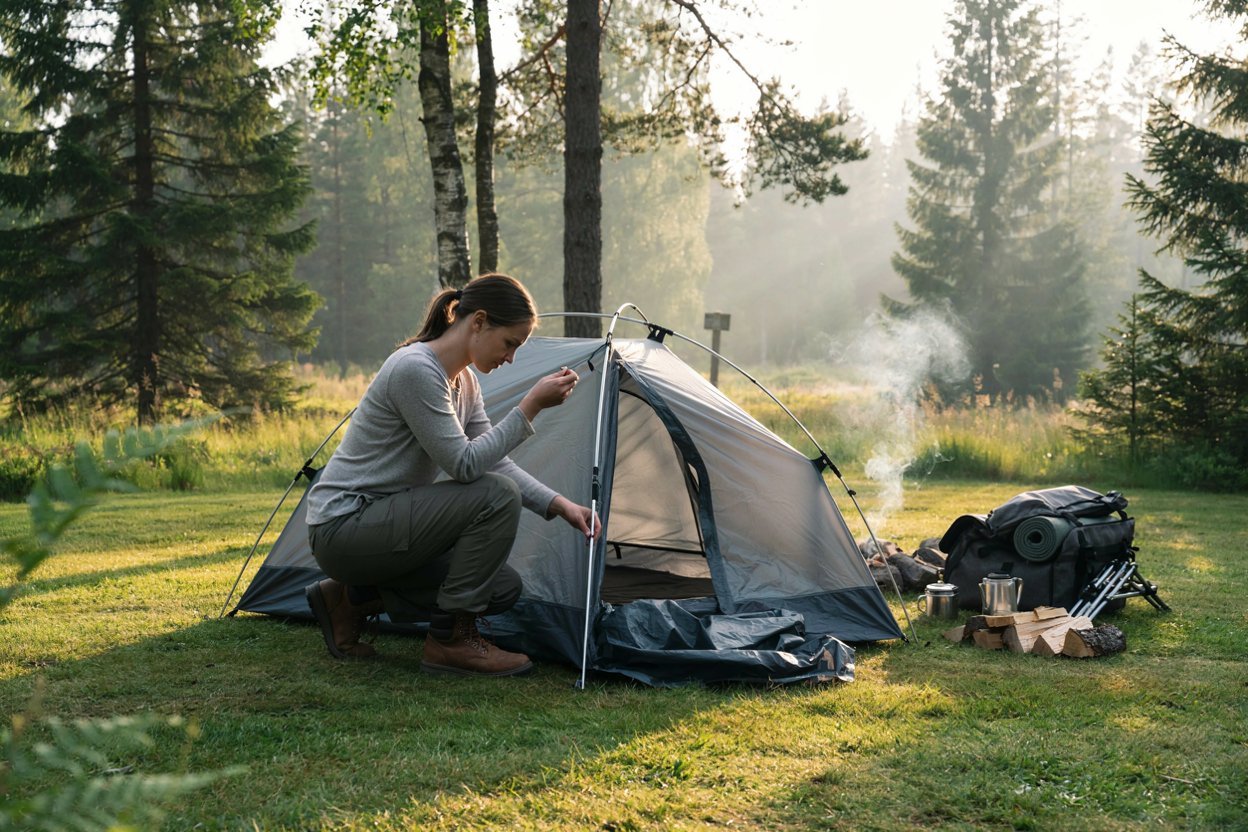
If you are new to camping, there is no need to feel overwhelmed by the process. In this guide, I will walk you through how I approach tent setup, including the mistakes I have learned to avoid, the little things that make camping more comfortable, and what I always check before settling into the tent for the night.
What You Need Before Setting Up Your Tent
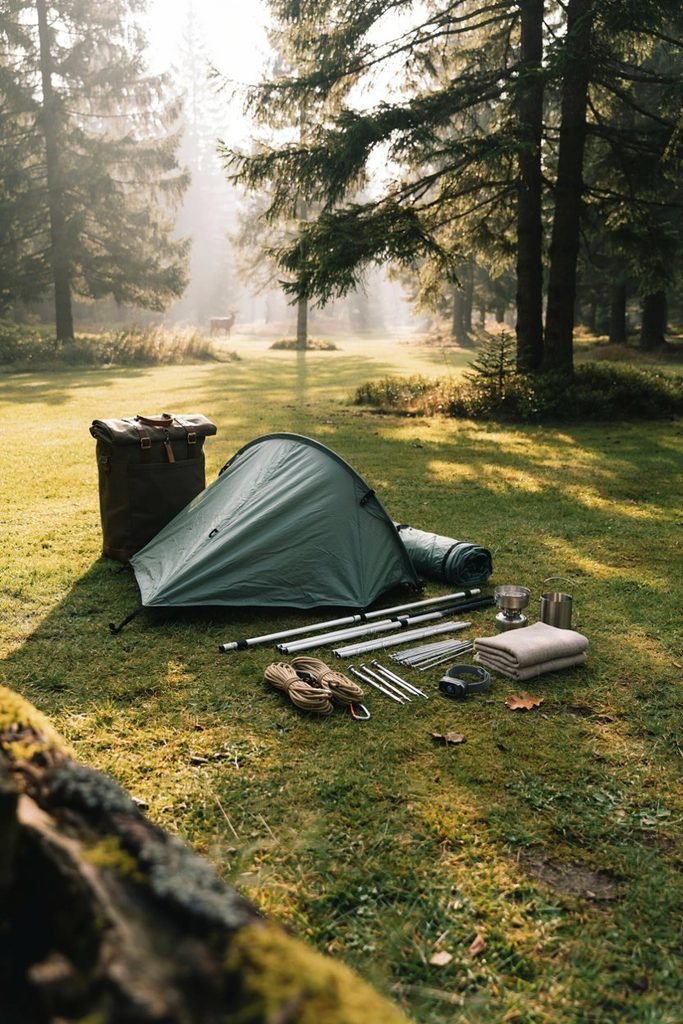
Before putting the tent together, I like to make sure everything I need is close by. It is much easier to organize the campsite when you are not constantly searching through bags for one missing piece.
Most basic tents come with a tent body, tent poles, a rainfly, stakes, and a storage bag. Some tents also include guylines, a footprint, or a separate groundsheet. The exact setup will depend on the tent you have, so I always recommend checking the instructions that came with it before heading out.
I also keep a few simple items nearby that make setup easier. A small camping mallet can help with stubborn stakes, although you can often push them into softer ground by hand. I also like having a small towel available for wiping dirt from the tent or drying my hands if the ground is damp.
One thing I learned from camping is that preparation saves much more time than rushing. Before unpacking the tent, I take a quick look around the campsite and decide exactly where I want it to go.
Choose the Right Spot for Your Tent
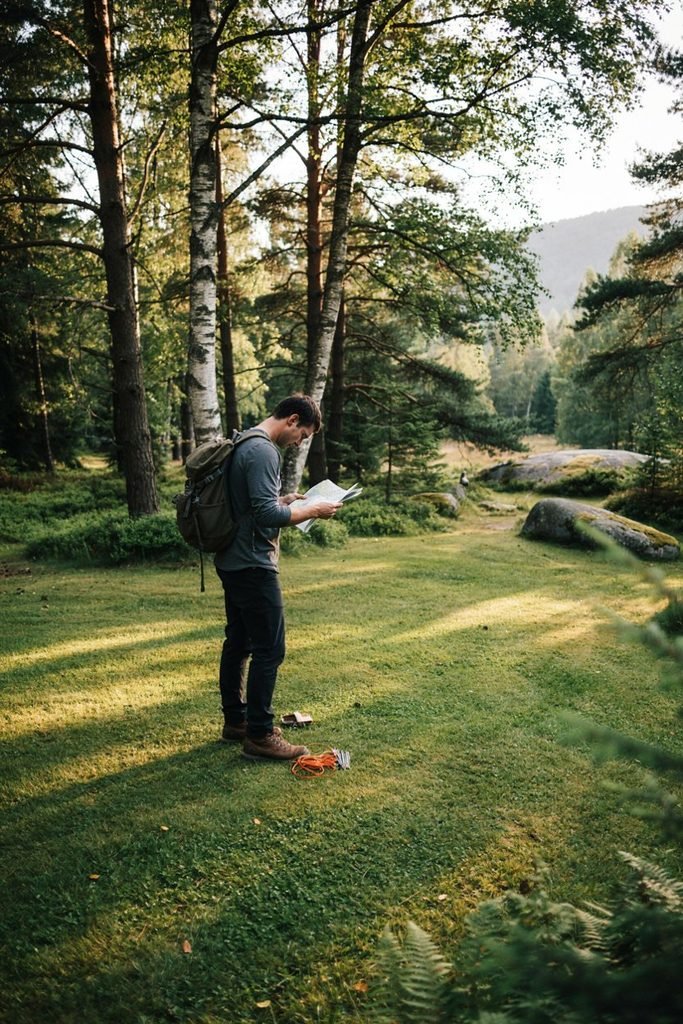
Where you place your tent can affect how comfortable the entire night will be.
When I arrive at a campsite, I do not immediately drop my tent in the first flat looking space I see. I walk around the area first and look at the ground from several angles. A spot that appears comfortable at first can sometimes have rocks, exposed roots, sticks, or a slight slope that becomes very noticeable once you are lying down.
I look for ground that is as level and smooth as possible. I also avoid obvious low areas where rainwater could collect. Even if the weather looks perfect when you arrive, conditions can change during the night.
I also pay attention to what is directly above the tent. Camping underneath trees can provide welcome shade, but I avoid areas with dead branches or anything that looks unstable.
Wind direction is another thing worth considering. If possible, I position the tent in a way that does not leave the largest surface directly exposed to strong wind. The exact position will depend on the tent design and campsite, but thinking about wind before you set up can make the tent feel much more secure.
The goal is not to find a perfectly beautiful patch of ground. You want a spot that is practical, comfortable, and safe.
Clear the Ground Before You Lay Out the Tent
Once I have chosen the spot, I take a few minutes to clear away anything that could cause a problem.
Small sticks, sharp stones, pinecones, and other debris may not seem important when you are standing up, but you will notice them when you are lying inside the tent. I would much rather spend a few minutes clearing the ground before setting up than discover a sharp rock underneath my sleeping pad later that night.
I do not try to completely disturb the campsite. I simply remove obvious objects from the area where the tent will sit.
If your tent comes with a footprint, this is also the stage where I place it on the ground. A footprint can help protect the bottom of the tent from moisture and rough ground. Just make sure it does not extend beyond the edges of the tent because exposed material can collect rainwater underneath your shelter.
Unpack the Tent and Identify Every Part
This is one of the steps I think beginners should never skip.
Instead of pulling pieces from the bag and immediately trying to assemble them, spread everything out where you can see it.
Lay out the tent body, poles, rainfly, stakes, and guylines if they are included. If your tent has several different pole sections or clips, take a moment to understand how they fit together.
I have found that tent setup becomes much less frustrating when I know what each piece is supposed to do before I start connecting everything.
Your tent may also have different colored straps, clips, or pole ends that help you identify where things belong. Take advantage of those details rather than trying to force the setup based on guesswork.
If you are camping with someone else, this is also a good time to divide the work. One person can organize the poles while the other spreads out the tent body. Working together can make setup much quicker without making the process feel rushed.
Lay the Tent Body Flat
Once everything is organized, spread the tent body across the area you selected.
Make sure the door is facing the direction you want before you start attaching the poles. This sounds like a small detail, but moving a fully assembled tent because the door ended up facing the wrong direction is something I would rather avoid.
I also check that the corners of the tent are positioned correctly and that the floor is lying naturally on the ground.
Do not worry if the tent looks flat and shapeless at this point. That is exactly how it should look before the poles are attached.
Take another quick look around the campsite and make sure the tent is positioned where you want it. Once the frame is assembled, making major changes becomes much more inconvenient.
Assemble the Tent Poles
Now it is time to put the poles together.
Most modern camping tents use poles made from several connected sections. These sections usually have elastic cord running through them, allowing the pieces to fit together naturally.
I recommend connecting the sections carefully rather than pulling aggressively on them. The pieces should fit together without needing excessive force.
If something does not seem to fit, stop and check the instructions. Do not assume that more pressure will solve the problem.
This is one area where patience really helps. Tent poles can look confusing when they are spread across the ground, especially when several sections are similar in length. Once you understand the arrangement, the process becomes much more straightforward.
Before attaching the poles to the tent, I like to make sure every section is fully connected. Leaving one connection loose can make the frame harder to assemble and can put unnecessary pressure on the pole when you begin raising the tent.
Pay Attention to the Tent Pole System
Not every tent uses the same setup.
Some tents have long sleeves where the poles slide through. Others use clips that attach directly to the poles. Some designs use a combination of both.
If you are using a tent with sleeves, feed the pole through gently and avoid forcing it if you meet resistance. If your tent uses clips, attach them one at a time and work around the structure rather than trying to pull everything into place at once.
This is another reason I recommend practicing at home if you are completely new to camping. Even a single practice setup can help you understand how your particular tent works before you have to do it at a campsite.
When I am setting up a tent, I would much rather spend an extra few minutes figuring out the structure while everything is calm than try to learn it in the dark, in the rain, or when everyone is already tired from traveling.
Start Raising the Tent
Once the poles are connected and positioned correctly, the tent will begin to take shape.
This is usually the point where the setup starts feeling much easier because you can finally see how all the pieces work together.
Depending on the design, you may need to connect the ends of the poles to the corners of the tent. Some tents use small pins, rings, clips, or other attachment points.
Work slowly around the tent and avoid putting unnecessary pressure on any single connection.
As the frame rises, check that the tent fabric is sitting correctly around the poles. If something looks twisted or unusually tight, stop and see whether a pole or clip has been positioned incorrectly.
A properly assembled tent should begin to look natural as it takes shape. You should not need to fight with the structure to make it stand.
Check the Corners Before Staking the Tent
Once the tent is standing, I take a moment before driving the stakes into the ground.
Look at each corner and make sure the tent floor is positioned evenly. The corners should not be pulled so aggressively that the fabric looks strained.
This is also the time to check the door and make sure it opens in the direction you intended.
After that, you can begin securing the tent to the ground.
The next part of the setup is where a lot of beginners either rush or use too much force. Getting the stakes and tent tension right is important because it affects how stable the tent feels, how well the rainfly works, and how the tent handles changing weather.
Stake the Tent Properly
Once the tent is standing where I want it, I move on to securing the corners. This is a simple step, but it is one I never rush because properly placed stakes help keep the tent in position when the weather changes.
Start with one corner and work your way around the tent. Pull the corner out naturally so the floor is sitting flat, then place the stake through the attachment point.
I try to position the stake at an angle rather than driving it straight down. The top of the stake should generally point away from the tent so it has a better hold in the ground.
The most important thing is not to pull the tent fabric extremely tight. You want the floor to be comfortably stretched without putting unnecessary pressure on the seams or attachment points.
If the ground is soft, the stakes may go in easily. If the ground is harder, take your time and avoid bending them by forcing them into a spot where the soil is too compact.
I have found that moving the stake slightly and looking for a better section of ground is usually easier than fighting with it.
Make Sure the Tent Floor Is Sitting Correctly
After securing the corners, walk around the tent and look at the floor.
You want the fabric to sit naturally without large folds or areas that are pulled excessively toward one side.
This is worth checking before you continue because adjusting the floor becomes more annoying once the rainfly and guylines are attached.
If one corner looks noticeably tighter than another, loosen the stake and reposition it.
There is no prize for getting the entire tent secured as quickly as possible. A few extra minutes at this stage can make the inside of the tent much more comfortable.
Attach the Rainfly
The rainfly is one of the most important parts of your tent, especially when the weather is unpredictable.
Even when the sky looks clear, I prefer having the rainfly ready because weather can change quickly at a campsite. It also gives you another layer of protection from moisture and can provide some extra shade during the day.
Before attaching it, spread the rainfly out and identify which side belongs over the front of the tent.
Many rainflies have buckles, straps, clips, or colored points that make positioning easier. Line these up with the corresponding areas on the tent.
Then carefully place the rainfly over the top of the tent.
Take your time here. It can be tempting to pull the rainfly into position quickly, but if it is turned around or placed incorrectly, you may end up removing it and starting again.
Align the Rainfly With the Tent Door
One of the easiest mistakes to make is putting the rainfly on in the wrong direction.
Before tightening anything, check that the rainfly door lines up with the tent door.
I usually unzip the tent door slightly and compare the position with the opening in the rainfly. If everything lines up, I know I am working from the correct orientation.
Once the rainfly is positioned correctly, connect the straps or clips at the corners.
Do not tighten everything immediately.
I like to attach all of the connection points first and then go around the tent making adjustments. This gives you more control and prevents one side from becoming too tight while another side remains loose.
Leave Space Between the Tent and Rainfly
The rainfly should generally sit above the tent rather than being pressed tightly against the tent walls.
That space is useful because it helps rainwater move away from the tent and allows air to circulate.
This is also important for condensation.
A tent can become surprisingly damp inside even when it does not rain. Breathing, wet clothing, changing temperatures, and limited ventilation can all contribute to moisture.
Keeping the rainfly positioned correctly and allowing the tent to breathe can make the interior much more comfortable.
If your tent has ventilation panels, I recommend using them whenever the weather allows.
Tighten the Rainfly Gradually
Once the rainfly is attached, adjust the straps around the bottom.
I prefer making small adjustments instead of pulling everything as tight as possible.
The fabric should look reasonably smooth, but you do not want to stretch it excessively.
Walk around the tent and check each side.
If one section is sagging badly, make a small adjustment. Then check the opposite side before continuing.
This method may take a few extra minutes, but it gives you a much more balanced setup.
A properly adjusted rainfly should look neat without appearing like it has been stretched to its absolute limit.
Use the Guylines When You Need Extra Stability
Some tents include guylines that extend outward from the tent or rainfly.
These can be particularly useful when camping in windy conditions because they provide additional stability.
I do not always need every guyline in calm weather, but I pay much more attention to them when the forecast calls for wind.
Attach the guyline according to your tent instructions, extend it away from the tent, and secure it with a stake.
Again, avoid making everything extremely tight.
The purpose is to stabilize the tent, not pull the entire structure toward the stake.
If the wind picks up during the night, properly positioned guylines can make the tent feel considerably more secure.
Check the Tent From the Outside
At this point, I like to step back and look at the entire tent instead of immediately climbing inside.
This is one of my favorite little habits because it allows me to notice problems that are difficult to see when standing right next to the tent.
Look at the roof, corners, rainfly, door, and stakes.
Check whether the rainfly is centered.
Look for fabric that appears unusually stretched.
Make sure the stakes are holding securely.
Check that the tent is standing evenly.
If something looks wrong, fix it now.
It is much easier to make adjustments while the tent is empty than after you have unpacked your sleeping bag, clothes, food, and other camping equipment.
Go Inside and Check the Floor
Once everything looks good from the outside, step inside.
Take a quick look at the floor and corners.
Make sure there are no stones or sticks underneath the areas where you will sleep.
I also check whether the tent feels level enough for sleeping. A location that feels perfectly acceptable while standing can feel completely different once you lie down.
This is where choosing your campsite carefully pays off.
If you notice that you are positioned on an uncomfortable slope, now is the time to make changes.
Moving the tent after you have arranged your sleeping gear is something I try to avoid whenever possible.
Think About Where Everything Will Go
Before unpacking everything, I like to decide where my belongings will live inside the tent.
This might sound like a small detail, but keeping the inside organized makes camping much easier.
I usually keep the things I may need during the night within easy reach.
That can include a phone, headlamp, water bottle, glasses, and an extra layer of clothing.
Larger bags can stay toward the side or near the entrance, depending on how much room the tent has.
Try not to fill the center of the tent with unnecessary gear. Keeping the sleeping area clear makes it easier to move around and reduces the chance of accidentally stepping on something.
Keep Wet Items Away From Your Sleeping Area
If you are camping somewhere with rain or damp conditions, think carefully about where you put wet clothing and shoes.
I try not to bring muddy shoes into the main sleeping area unless there is no other option.
If the tent has a vestibule, that space can be extremely useful for shoes and other items that you do not want inside the sleeping area.
Wet clothing can also increase humidity inside the tent, so I prefer keeping damp gear separated whenever possible.
A little organization can make the difference between a comfortable night and waking up surrounded by damp equipment.
Ventilate the Tent
One of the most useful camping lessons I have learned is that ventilation matters even when it is not raining.
It is easy to close every opening because you want the tent to feel warm and protected, but completely shutting everything can lead to condensation.
If your tent has vents, windows, or mesh panels, use them when conditions allow.
You want enough airflow to help moisture escape while still keeping the tent comfortable.
If it is raining, you can still use the tent’s ventilation features while keeping the main openings protected.
The right balance will depend on the weather and the design of your tent.
Make the Sleeping Area Comfortable
Once the tent is secure, it is time to make the inside feel like somewhere you actually want to sleep.
Start with your sleeping pad or camping mattress.
Then add your sleeping bag or bedding.
I also recommend using a small pillow or compact camping pillow rather than relying on a pile of clothing. A comfortable sleeping setup can make a huge difference in how you feel the next morning.
Keep your most important nighttime items nearby.
A headlamp is particularly useful because you do not want to be searching through bags in complete darkness if you need something during the night.
I also like keeping a water bottle within reach.
These small decisions are easy to overlook when you are excited about getting camp set up, but they are exactly the things you appreciate later.
Do a Final Weather Check
Before you settle into the tent for the evening, take another look at the weather.
If rain is expected, check the rainfly again.
If wind is expected, make sure the stakes and guylines are secure.
If temperatures are expected to drop, make sure you have enough layers and suitable sleeping gear.
Camping becomes much easier when you prepare for the conditions rather than waiting until the weather changes.
I have learned that a few minutes spent preparing while the weather is calm is far better than trying to fix a tent setup once rain or strong wind has already arrived.
Do Not Forget the Tent Door
This may sound obvious, but check the door before you finish setting up.
Make sure it opens and closes smoothly.
Check that the zipper is not catching on the fabric.
Make sure the rainfly opening lines up correctly.
If you are camping with children, pets, or several people, think about whether the door placement will make it easy for everyone to get in and out.
The entrance is one of the most frequently used parts of the tent, so it is worth getting right.
Take a Few Minutes to Practice the Setup
If you are completely new to camping, practicing your tent setup before your trip is one of the best things you can do.
You do not need a campsite to practice.
If you have enough space, set the tent up at home, in a backyard, or in another suitable outdoor area.
Go through the entire process from unpacking to taking it back down.
Pay attention to which poles connect together, where the clips attach, how the rainfly sits, and where the stakes go.
When you eventually arrive at a campsite, the process will feel much more familiar.
This is especially helpful if you expect to arrive later in the day. Trying to understand a new tent while the sun is going down is much more stressful than setting up a tent you already know.
Common Tent Setup Mistakes to Avoid
Even after you understand the basic setup, there are a few mistakes that can make camping much more difficult than it needs to be. Most of them are easy to avoid once you know what to look for.
Setting Up on Uneven Ground
A campsite can look reasonably flat while you are standing on it, but that does not always mean it will be comfortable for sleeping.
Before putting the tent up, walk across the area and look closely at the ground. If you can feel rocks, roots, or noticeable dips under your feet, you will probably notice them even more once you are lying down.
I have learned that taking a little extra time to find a comfortable patch of ground is worth it. You do not need a perfectly level campsite, but you should avoid obvious slopes whenever possible.
If there is a slight incline, think about which direction your head will be positioned. You generally want to avoid ending up with your head lower than the rest of your body.
Forgetting to Check What Is Above You
Looking down at the ground is important, but so is looking up.
Before settling on a tent location, check the surrounding trees and branches. Avoid areas where dead branches could potentially fall.
I also think about shade and exposure. A little shade can be welcome during a warm day, but you should never choose a location simply because it looks attractive without considering whether it is a sensible place to camp.
Setting Up Too Close to Water
Being near a lake, river, or stream may seem appealing, especially when you are choosing a campsite.
However, I would not place the tent directly beside the water.
Apart from the possibility of changing water levels, areas close to water can sometimes be damp and uncomfortable. Mosquitoes and other insects may also be more noticeable.
A location that gives you a nice view while keeping a reasonable distance from the water is usually a better choice.
Forgetting the Rainfly
One of the easiest mistakes is assuming you only need the rainfly when rain is already falling.
By the time you realize that rain is coming, you may already be trying to attach it in wet and windy conditions.
I prefer having the rainfly ready from the beginning when there is any reasonable chance of changing weather.
It can also provide shade and an additional layer between your tent and the outside environment.
Pulling Everything Too Tight
When you are trying to make your tent look neat, it can be tempting to tighten every strap and guyline as much as possible.
That is not necessary.
The goal is a secure and reasonably taut setup, not a structure that looks stretched to its limit.
If you notice fabric being pulled aggressively or attachment points looking strained, loosen things slightly and adjust the tension.
Forcing the Tent Poles
Tent poles are designed to flex, but that does not mean they should be forced into the wrong position.
If a pole seems too short, too long, or difficult to attach, stop and check whether it is connected correctly.
A mistake in the pole arrangement can make the rest of the setup much harder.
I would much rather spend a few minutes checking the instructions than risk damaging a pole or the tent itself.
Leaving Loose Stakes
A tent can look completely finished while still having poorly secured stakes.
Walk around the tent and check each one.
If a stake is barely holding onto the soil, reposition it or move it to a more secure section of ground.
This becomes particularly important if the weather is expected to become windy.
Ignoring the Ground Under the Tent
Do not assume that a sleeping pad will hide every problem underneath you.
A sleeping pad provides some cushioning, but it cannot completely eliminate the discomfort of a large rock or root.
Before finalizing the tent position, clear away anything sharp or uncomfortable.
This is one of those small preparation steps that you appreciate much more when it is time to sleep.
How to Set Up a Tent in Wind
Wind can make tent setup much more challenging, so if conditions are windy, slow down rather than trying to rush.
Keep the tent components organized and prevent loose pieces from blowing away.
If possible, place some stakes in the appropriate locations early in the process so the tent does not move around unnecessarily.
Once the main structure is standing, use the available guylines and secure them properly.
Pay attention to the direction of the wind and make sure the tent is positioned according to the design of your particular model.
I would also avoid leaving the tent partially assembled and unattended in strong wind. A loose tent can quickly turn into a much bigger problem when the wind catches it.
If conditions become severe, your priority should always be safety rather than protecting the tent.
How to Set Up a Tent in the Rain
Rain adds another challenge because you are trying to keep the inside of the tent dry while getting everything assembled.
If rain is already falling when you arrive, work as efficiently as possible without becoming careless.
Keep the tent body protected from the wet ground as much as you can before the structure is assembled.
If your tent design allows you to attach the rainfly before fully exposing the interior, that can help reduce how much water gets inside. However, the exact method depends on the tent.
Once the tent is standing, keep the door closed when possible.
Avoid placing soaked clothing and wet equipment directly inside the sleeping area.
Ventilation still matters in wet conditions because the difference between outside and inside temperatures can create condensation.
What to Do If Your Tent Gets Wet
Getting some moisture on your tent does not necessarily mean something has gone wrong.
Rain, morning dew, condensation, and wet ground can all leave parts of the tent damp.
The important thing is what you do afterward.
When you get home, unpack the tent and allow every part to dry completely before storing it.
Spread the tent body out somewhere suitable and allow the rainfly to dry separately.
Check the corners, seams, pockets, and other areas where moisture can remain hidden.
Never assume a tent is dry simply because the outside feels mostly dry.
Storing a damp tent can lead to unpleasant smells and mildew, which is one problem that is much easier to prevent than fix.
How to Take Down Your Tent
Taking the tent down is usually easier than putting it up, but I still try not to rush.
First, remove your sleeping gear and personal belongings.
Check the corners, pockets, and small storage areas because it is surprisingly easy to leave something behind.
Remove the rainfly and shake off any dirt or debris.
Then remove the guylines if you used them.
Pull the stakes carefully rather than using the tent fabric to yank them from the ground.
Once the tent is free, disconnect the poles and fold or collapse them according to the manufacturer’s instructions.
I like keeping the poles together rather than scattering the sections around the campsite.
Shake Out Dirt Before Packing
Before putting the tent back into its storage bag, shake out as much dirt, grass, leaves, and debris as possible.
If you have enough space, turn the tent body over and gently remove anything trapped inside.
Pay particular attention to the corners because dirt often collects there.
This simple habit keeps your tent cleaner and makes the next setup much more pleasant.
There is nothing worse than opening your tent bag on your next trip and finding a collection of dried leaves and campsite dirt inside.
Never Store a Wet Tent
This is one rule I take seriously.
If your tent is wet when you need to leave the campsite, you may have no choice but to pack it temporarily.
That is understandable.
The important part is remembering to unpack it as soon as you get home.
Set it up somewhere suitable or spread the pieces out so they can dry completely.
Make sure the rainfly, tent body, footprint, and other fabric components are all dry before putting everything away.
It only takes one damp storage session to create an unpleasant smell that can be difficult to remove later.
How to Make Tent Camping More Comfortable
Once the tent itself is secure, the little details can make a big difference.
I like keeping the inside organized rather than bringing everything into the tent and creating a pile of bags and clothing.
Keep frequently used items where you can reach them easily.
A headlamp should be somewhere you can find it without turning on a bright light.
Keep water nearby.
Have an extra layer within reach if temperatures are expected to drop.
If you are camping with other people, give everyone a small area for their personal belongings.
Keeping the sleeping space organized also makes it much easier to find things when you wake up during the night.
What to Keep Outside the Tent
Not everything belongs inside the sleeping area.
Dirty shoes, muddy equipment, cooking supplies, and food should generally be kept outside the sleeping area and stored appropriately according to campsite rules and local wildlife guidance.
If your tent has a vestibule, use it for items that need protection from rain but do not need to be inside the main sleeping area.
Food should be stored according to the rules and recommendations for the campsite you are visiting. In areas with wildlife, proper food storage is especially important.
Keeping the sleeping area clean also makes the tent feel larger and more comfortable.
Check Your Tent Before Going to Sleep
Before you crawl into your sleeping bag, do one final walk around the tent.
Check the stakes.
Look at the rainfly.
Check the guylines if you are using them.
Make sure the doors are working correctly.
Look at the ground around the tent and make sure there are no obvious drainage problems.
Inside, make sure your sleeping area is comfortable and your important belongings are within reach.
I find that this final check takes almost no time, but it gives me much more peace of mind once I settle down for the night.
Frequently Asked Questions
How long does it take to set up a tent?
The answer depends on the tent and your experience. A simple tent can often be assembled fairly quickly, while larger family tents can take considerably longer.
Your first few setups may take more time because you are learning the structure. After practicing, the process usually becomes much more natural.
Should you use a tarp under your tent?
A footprint or properly sized groundsheet can help protect the bottom of the tent.
If you use a tarp, make sure it does not extend beyond the edges of the tent. An exposed tarp can collect rainwater and direct moisture underneath your tent.
Should the tent door face the wind?
There is no universal answer because tent designs differ.
Consider the shape of your tent, the expected wind direction, and the manufacturer’s recommendations. In general, you want to avoid positioning the tent in a way that unnecessarily exposes a large flat surface to strong wind.
Do you need to use all the tent stakes?
If the tent manufacturer provides specific staking points, I prefer using them, especially when weather conditions are uncertain.
You may not need every guyline in calm weather, but using the appropriate stakes and attachment points gives the tent better stability.
Should you always use the rainfly?
I generally recommend having the rainfly available whenever there is a possibility of rain or changing weather.
It can also provide shade and additional protection from the elements.
How do you keep a tent dry inside?
Good ventilation is important.
Use the available vents and mesh areas when conditions allow, and avoid bringing unnecessary wet clothing and equipment into the sleeping area.
Condensation can happen even when there is no rain, so airflow matters.
Can one person set up a tent?
Yes. Many smaller tents are designed to be manageable for one person.
Larger tents can be easier with two people, particularly when raising the frame or attaching a large rainfly.
If you are setting up alone, choose a calm location and take the process one step at a time.
Final Thoughts
A good tent setup is really about slowing down enough to get the important details right.
I used to think the main goal was simply getting the tent standing, but the more important part is making sure it is positioned well, secured properly, protected from the weather, and comfortable enough for the night ahead.
Take your time when choosing the campsite, clear the ground before laying out the tent, understand how the poles and rainfly work, and always give yourself a few extra minutes for a final check.
The more often you camp, the more naturally these steps will come to you. Eventually, you will be able to look at a campsite, know where you want the tent to go, and move through the setup without giving every step much thought.
That is when camping starts to feel much more relaxed.